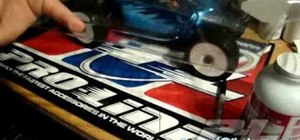
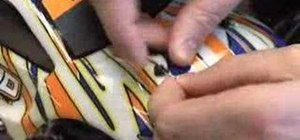
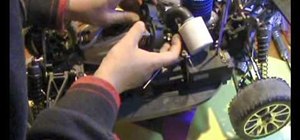
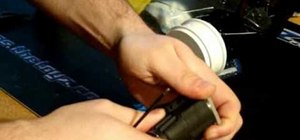
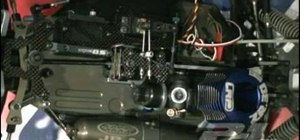
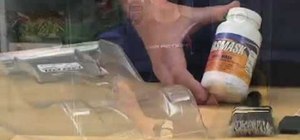
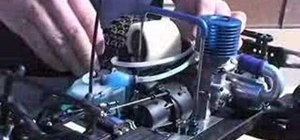
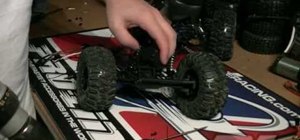
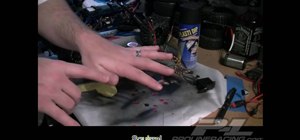
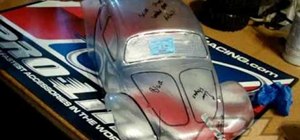
In this tutorial, we learn how to apply decals to RV cars. First, peel your decal from the paper they come on and then place it onto the RV car where it is smooth and there are no ripples on the vehicle. Make sure the entire decal can fit onto the spot where you want to place it. If you put it onto a bump, it won't seal and there will be blur with the lines. Once you apply the decal, push on without letting any air through, dragging the paper along the artwork. To make it more flat, take a credit card and slide it over the top of it. Try to remove any pockets of air so that everything is completely flat. when finished, paint your car and enjoy the decal!
Just updated your iPhone? You'll find new emoji, enhanced security, podcast transcripts, Apple Cash virtual numbers, and other useful features. There are even new additions hidden within Safari. Find out what's new and changed on your iPhone with the iOS 17.4 update.










Be the First to Comment
Share Your Thoughts